One of your goals as an upcoming software developer is to reach a level whereby you can collaborate and work with fellow developers on different projects while contributing to the success of the project from the start to the project completion.
When you start working on a team project, you will familiarize yourself with the word PULL REQUEST.
I will therefore be working you through how to make pull requests.
Have Git installed on your system. you can visit %[git-scm.com/downloads] to get it downloaded for both windows and mac. Git gets downloaded with command prompt or terminals called Git Bash and Git GUI.
I will strongly recommend GIT Bash as it helps you get conversant with git commands and how git works under the hood.
Create a folder for your new project or an existing project you intend to contribute to. Note: Do not initialize git by doing
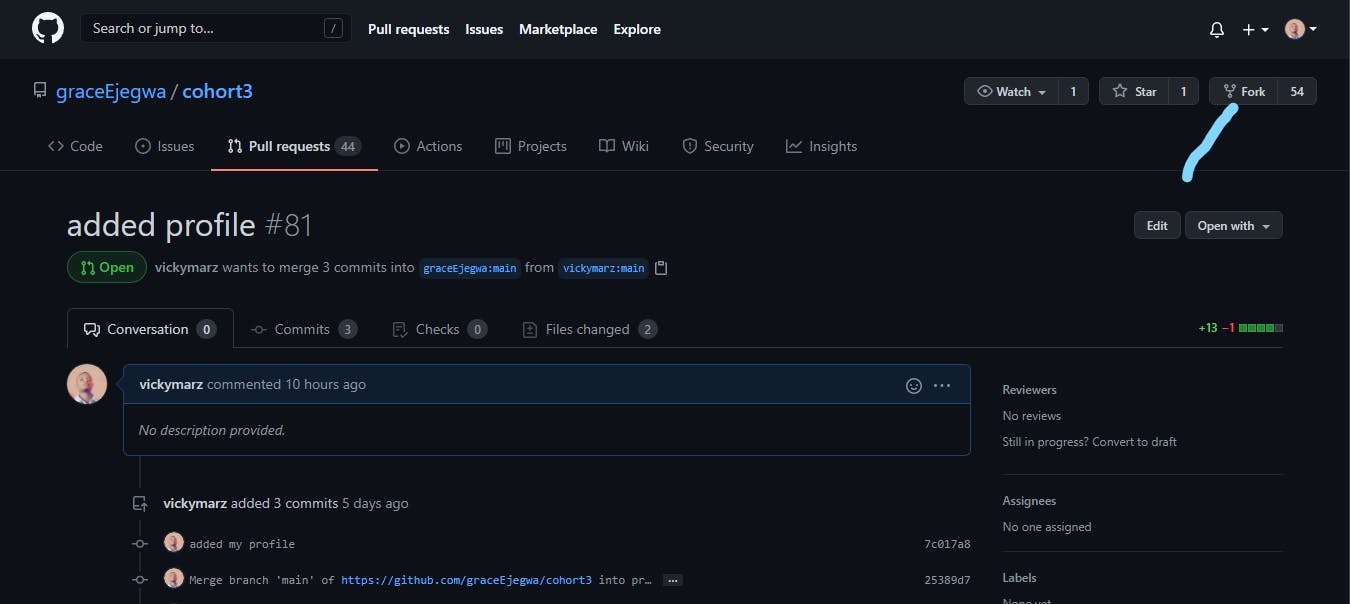
git initin the folder you created as git will already be initialized in the project folder you are cloning from your repository except of course you are the one starting out with the project.Go to the remote base repository where the original project you are working on is stored, on the top right corner of your screen, you will see a Fork icon click it to fork the repository which automatically creates a copy of the repo in your own personal remote repository.
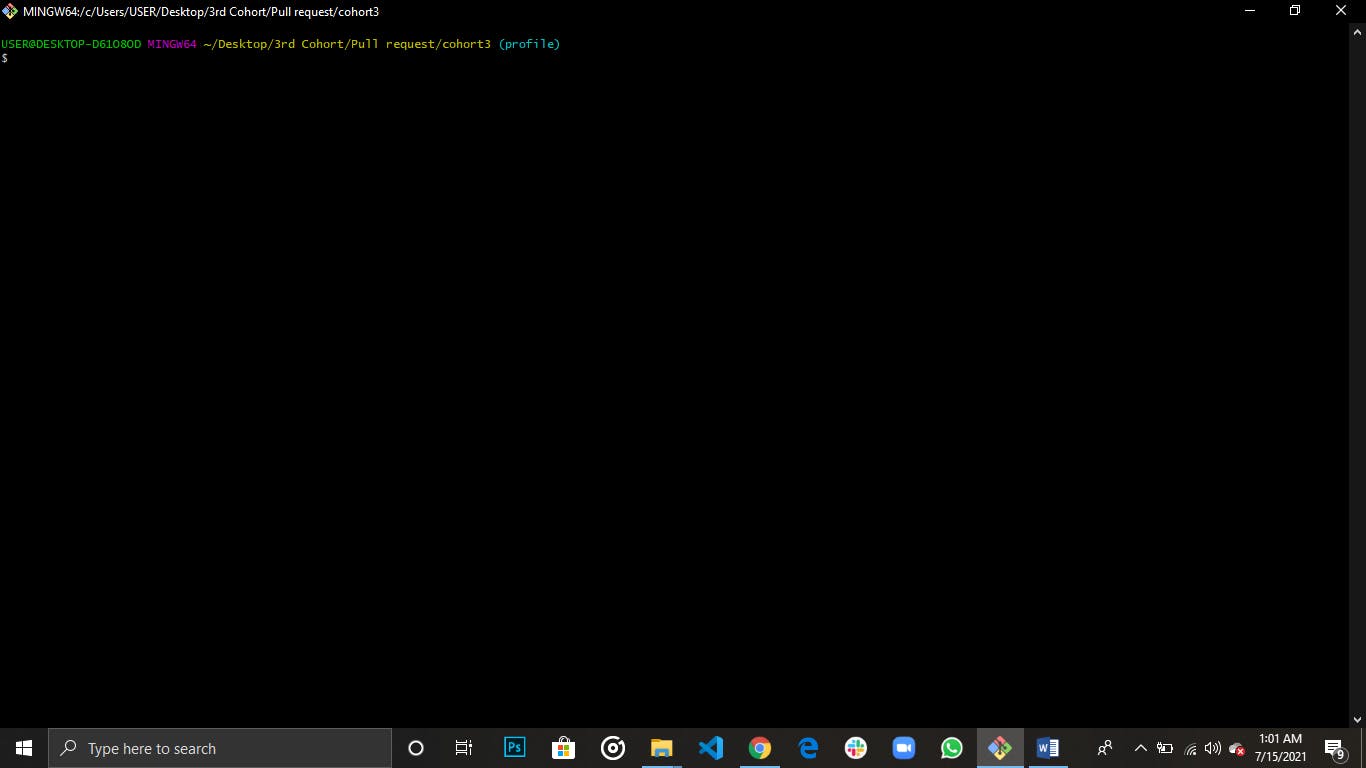
After Forking, Go back to the folder you created earlier for the project. Right click on your mouse and you will see the two terminals mentioned earlier which will display as:
Git GUI here and Git Bash here Click on Git Bash here and a terminal will get opened for you.
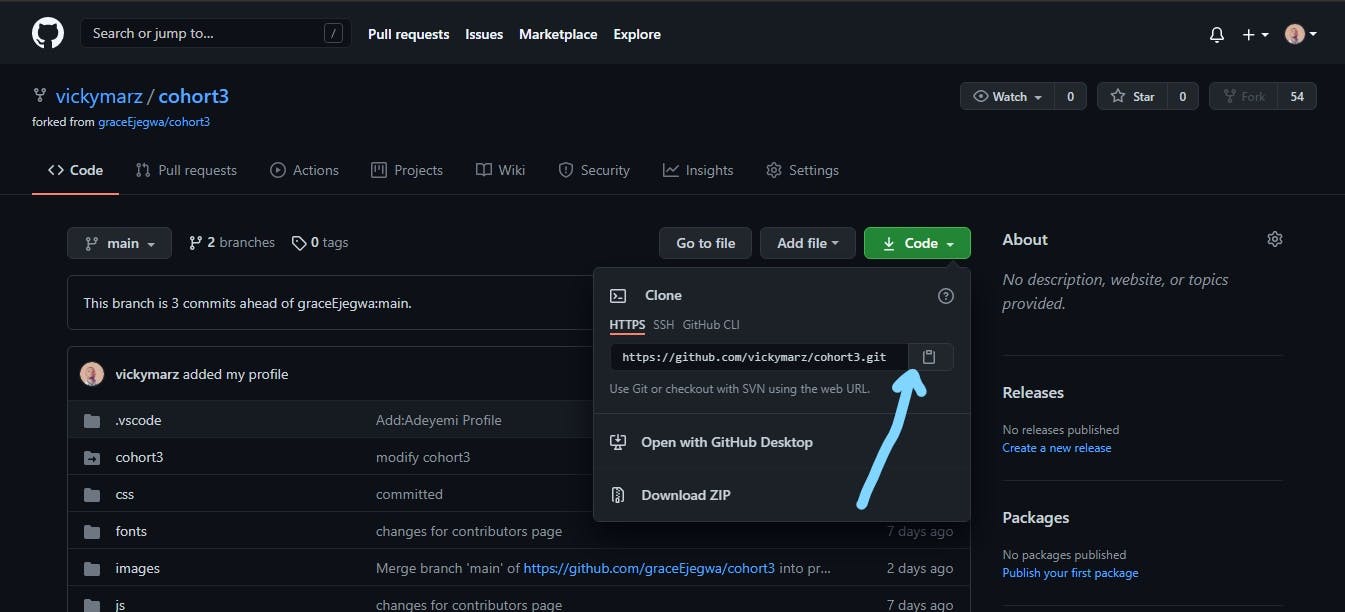
Return to your remote repository, click on code displayed in green color, you will see clone > https and a url. copy the url and paste it in your terminal during the next step below.
In the terminal, in front of the dollar sign, enter the command
git clone <url>press enter and the project will be automatically downloaded in the folder you created.Note: If your remote repo is on main branch and your local repo is on master branch, you should rename your local repo to main in other to match with the remote repo by entering the command:
git branch -M main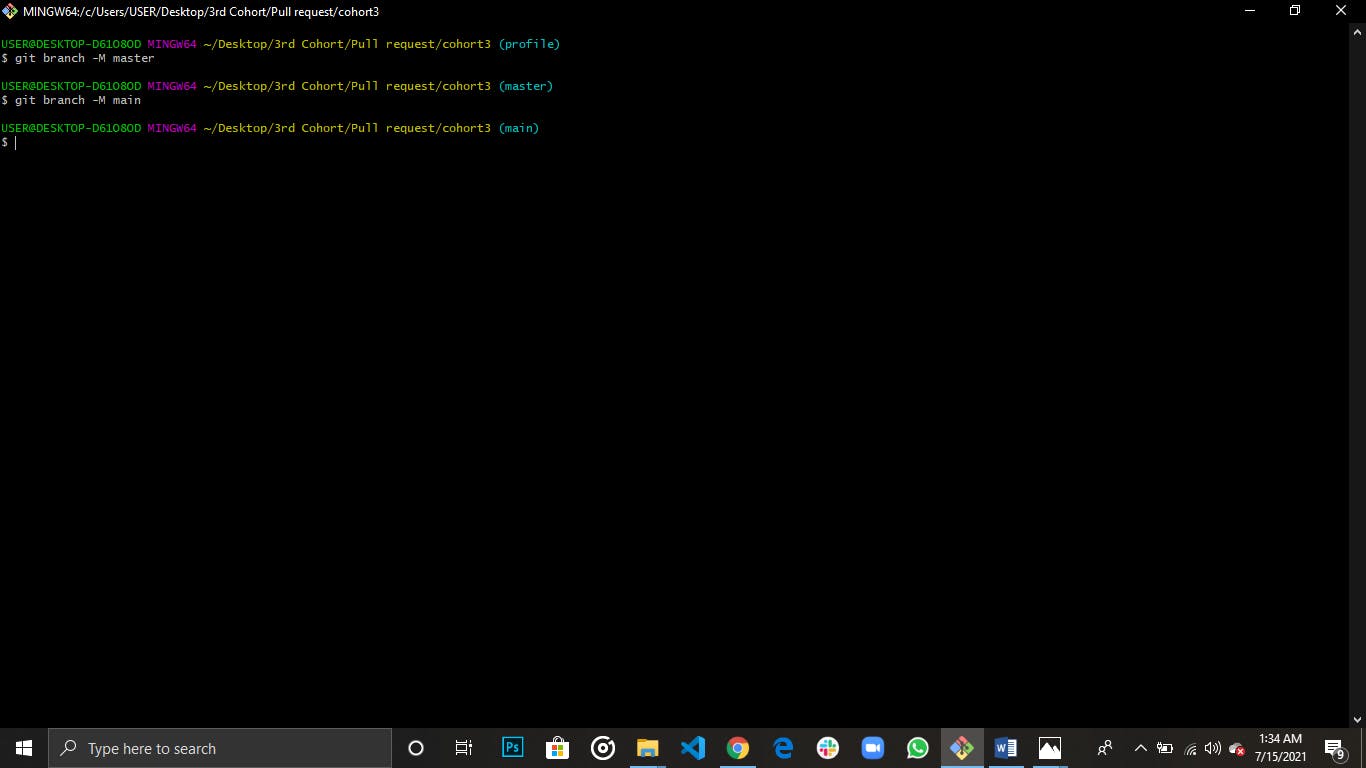
Create a new branch for the project.
This should be your habit as a developer always to create branches for your projects. Enter the following command to create a new branch:
git checkout -b 'new branch name'this command automatically checks you out of the main branch into your new branch.Make all the necessary changes to the project.
Enter
git statusto check the present state of the changes you have made.Enter
git add .to add all your files to the staging area.Enter
git statusagain to confirm the status if all your your files have been added to the staging area.commit your changes by entering the command
git commit -m 'my first commit'hit enter. WOO! you have successfully made your first commit.Note: There are two ways to make a pull request. firstly:
- Push to your own remote repository first by entering the command
git push origin maingo to your remote repository, you will see the optioncompare and pull request. click it and at the bottom of the page, you will see Make request click as well and VOILA! you have made your first pull request.
The second step is recommended if you have been added as a contributor to the project. if not, stick to the first step. As a contributor, you have access to pull, push and merge pull request.
- Clone directly from the base repository where the original project is kept as described in step 5 instead of your own repository.
- Make your changes, Enter the command
git add .to add all your changes to the staging area,git statusand then commit your project by doinggit commit -m 'my new commit' - Enter the command
git push origin new-branch. This will automatically push your changes to the base repository where you can now merge. Note: if you are not a contributor, you can only pull from the base repository and not push as your access to the repository will get denied.
IT WORTH THE PATIENCE RIGHT! HAPPY CODING. Contact me if you encounter any challenge.
